Showing posts with label Recipe. Show all posts

Sunday, April 8, 2012

Day 99 - 8 April 2012 - Buona Pasqua!

Hello!

Day 99 is Easter Sunday. Happy Easter!  For lunch today I made Torta Pasqualina (Easter Pie).  Last night I made a delicious roast lamb, but unfortunately, no photos.

Here is the lunch plate:
Yummo!

This is what the pie looked like whole:
Yes, that's bunnies running around the edge. :-)
How did I get the bunnies to be whiter than the rest of the pastry? I used egg wash on the pastry and then added the bunnies afterwards with no egg wash.
One of my friends asked me for the recipe, so I am going to attempt to give it to you here. The basic recipe idea and technique I got from the Italian website Giallo Zafferano. It's in Italian, so if you don't speak Italian it won't be fully useful, but the pictures might help you. There is also a useful video. I did not use their recipe totally, because first of all I did not have the right amount of ingredients, and second of all I always tend to make my own version of things, even when I'm "following" the recipe.

Torta Pasqualina
Ingredients
300g - 500g of fresh spinach leaves
1/2 onion diced
olive oil
500g ricotta
150g parmigiano reggiano (good parmesan)
10 eggs (you may want to add extra, if you are making a bigger pie, or serving more people)
pepper
salt
nutmeg
puff pastry (this is what I used, you can use filo, or you can do it the Italian way and make lots of layers of pastry yourself) I used three sheets of ready-made, but this depends on the size of your pie dish.

Method
Cook onion slowly over low heat in a good slosh of olive oil until it is soft and clear (the low heat is important to get the sweet flavour). Add salt and pepper. Then add chopped spinach leaves and cook them (still on low heat) until they "melt" (soft and floppy). Set aside to cool.
Line oiled pie dish with puff pastry (I used a square pyrex dish, but would have used a deep pie dish if I had one).
Mix ricotta with 1/3 of the parmesan, a sprinkle of nutmeg, some pepper, and three eggs.
Mix spinach and onion mixture with two eggs and 1/3 parmesan.
Add spinach mix to bottom of pie.
Add ricotta mix on top of spinach layer and use spoon to make little nests for the egg yolks to sit. Sprinkle over some parmesan.
Separate eggs (I used 5). Keep whites aside and add yolk to the nests in the ricotta mix.
Mix egg whites slightly and then spread evenly over top of ricotta layer and egg yolks. Add remaining parmesan on top of egg white. Keep a little egg white aside for the top of the pie.
Top pie with puff pastry and join the bottom and top edges and fold them back into the pie dish. Brush a little egg white over pie crust. This gives you a shiny, golden brown finish.
Cook for about 45minutes in 180 degrees celcius oven.
Serve warm or cold, it is great either way.

I have made this pie before and just mixed the spinach and ricotta all together, and it tastes just as good. It doesn't look as pretty when served, and you don't get the separate flavours of the spinach and the ricotta.  I also make this using silverbeet, which gives you a stronger (equally delicious) flavour.

Okay, change of topic. The theme for April Photo a Day today was "What's in Your Wallet". Here is the photo of my wallet.
Yep, not much there other than a lot of cards, a photo, and $10.25 in cash.

:-)
Michelle

Sunday, March 4, 2012

Day 64 - 4 March 2012 - ANZAC biscuits

Hello!

Day 64 was a baking day. Trying to get enough food made to keep my insatiable 9 year old going all day at school. She swims five days a week, and she's growing, so her appetite is massive.

Today I was a bit nice and made some sweet things. Today's photo is of the ANZAC biscuits I made.
They taste good.

I'll give you the recipe while I'm here. Those of you who are Australian or New Zealander will already know this recipe, I'm sure!

ANZAC Biscuits

Ingredients
1 cup plain flour
1 cup rolled oats
1 cup dessicated coconut
1 cup raw sugar (I usually only use 3/4 cup)
125g butter
1 tablespoon golden syrup
1 teaspoon bicarbonate of soda
2 tablespoons of boiling water

Method
Mix all dry ingredients together (except bicarb soda)
Melt butter together with syrup
Pour boiling water over bicarb soda, mix, then add to butter mixture.
Add wet ingredients to dry ingredients and mix well.
Roll 1 tablespoon of mixture and flatten slightly on baking tray.
Bake in slow oven (about 150c) until golden brown. About 20 minutes.

I made a double batch today. I'm a popular Mummy/wife tonight.

:-)
Michelle

Sunday, February 26, 2012

Day 57 - 26 February 2012 - Sweetness

Hello!

It's Day 57! I can't believe I'm managing to keep up with this daily photo business! Today's post is also my entry into this week's Photo Friday Challenge, where the theme is sweetness.

Today was the day of our morning tea for my mother-in-law's birthday. I made quiche, chocolate slice, macarons and cupcakes. The cupcake recipe you can find on yesterday's post.  I should give you the macaron recipe too, because they were DELICIOUS. It was my first time making them, and I'll be making them again. Looking at this photo, I wish I'd chosen my white tablecloth instead of my Italian lemon one, LOL!

I actually used a couple of different recipes to make the macarons. The first one I looked at didn't tell me how or when to mix the egg white mixture with the almond mixture! Following here is my adaptation of the recipes I looked at:

Macarons
Ingredients
150g icing sugar
75g ground almonds (almond meal)
2 large egg whites (room temperature)
35g caster sugar
food colouring

Method
Preheat oven to 170c/325F and line two baking sheets with non-stick baking paper.
Sift the icing sugar and almond meal together.
In a separate bowl, beat the egg whites until soft peaks form. Then add caster sugar 1 tablespoon at a time and continue beating until the eggwhite mixture is stiff and glossy.
Mix colouring and almond meal and icing sugar into the egg mixture. Mix it in well (you aren't gently folding here, you are making sure it is all mixed together). The mixture should be thick but still wet.
Place the mixture into a piping bag with a plain nozzle and pipe circles onto the baking paper.
Set aside for at least 30 minutes to allow the mixture to settle and for a "skin" to form on top of the macarons. (One recipe I read recommended setting them aside for 5 hours! Which I didn't do.)
Place in oven for 9 - 10 minutes. Remove from oven and leave to cool on the tray.

You can join these with jam, cream, buttercream, or ganache. This time I used the buttercream from my cupcakes (see my cupcake recipe), but next time I think I might make a ganache, the buttercream was a bit sweet for me. The macarons by themselves were divine!

Here's another photo:
Have I made you hungry for sweets?

:-)
Michelle

Day 56 - 25 February 2012

Hello!

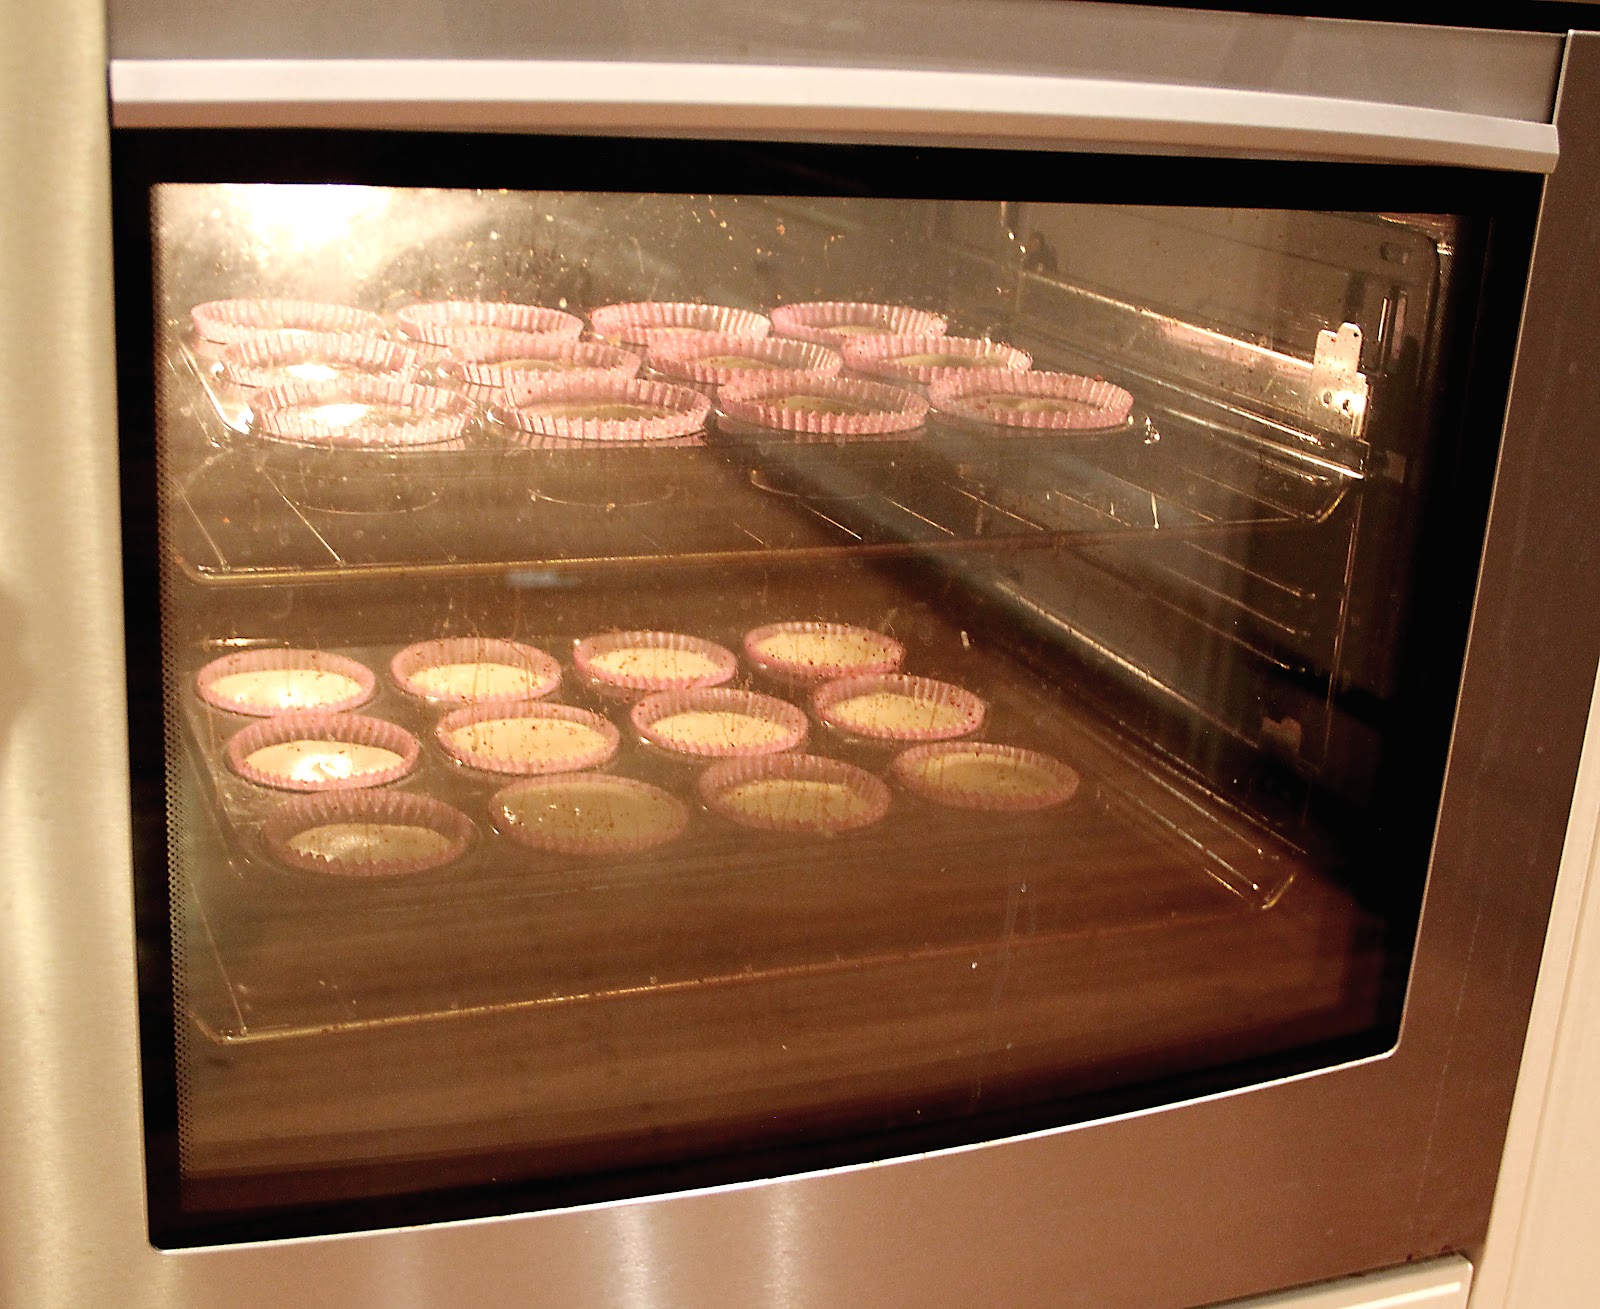
A day of housework. We are having morning tea for the hubby's Mum tomorrow, so the house is cleaned and I've been baking.
I made Magnolia Bakery's Vanilla Cupcake. I Googled the recipe, and the one I used is this one:


Magnolia Bakery Vanilla Cupcakes
Ingredients
Cupcakes:
·         1 1/2 cups self-rising flour
·         1 1/4 cups all-purpose flour
·         1 cup (2 sticks) unsalted butter, softened
·         2 cups sugar
·         4 large eggs, at room temperature
·         1 cup milk
·         1 teaspoon vanilla extract
Icing:
·         Vanilla Buttercream, recipe follows

Directions
Preheat oven to 350 degrees F.
Line 2 (1/2 cup-12 capacity) muffin tins with cupcake papers.
In a small bowl, combine the flours. Set aside.
In a large bowl, on the medium speed of an electric mixer, cream the butter until smooth. Add the sugar gradually and beat until fluffy, about 3 minutes. Add the eggs, 1 at a time, beating well after each addition. Add the dry ingredients in 3 parts, alternating with the milk and vanilla. With each addition, beat until the ingredients are incorporated but do not over beat. Using a rubber spatula, scrape down the batter in the bowl to make sure the ingredients are well blended. Carefully spoon the batter into the cupcake liners, filling them about 3/4 full. Bake for 20 to 25 minutes, or until a cake tester inserted into the center of the cupcake comes out clean.
Cool the cupcakes in tins for 15 minutes. Remove from the tins and cool completely on a wire rack before icing.

Vanilla Buttercream:
The vanilla buttercream we use at the bakery is technically not a buttercream but actually an old-fashioned confectioners' sugar and butter frosting. Be sure to beat the icing for the amount of time called for in the recipe to achieve the desired creamy texture.
·         1 cup (2 sticks) unsalted butter, softened
·         6 to 8 cups confectioners' sugar
·         1/2 cup milk
·         2 teaspoons vanilla extract
Place the butter in a large mixing bowl. Add 4 cups of the sugar and then the milk and vanilla. On the medium speed of an electric mixer, beat until smooth and creamy, about 3 to 5 minutes. Gradually add the remaining sugar, 1 cup at a time, beating well after each addition (about 2 minutes), until the icing is thick enough to be of good spreading consistency. You may not need to add all of the sugar. If desired, add a few drops of food coloring and mix thoroughly. (Use and store the icing at room temperature because icing will set if chilled.) Icing can be stored in an airtight container for up to 3 days.
Yield: enough for 2 dozen cupcakes or 1 (9-inch) layer cake

This is a massive batch of cupcakes. I only used a half quantity of the buttercream recipe. The full quantity would cover more than four dozen cupcakes, I'd say. The batter made 24 cupcakes (big ones in muffin cases). The cupcakes were light and fluffy and delicious.
:-)
Michelle

Saturday, January 14, 2012

Day 14 - 14 January 2012

Hello!

The photo for Day 14 is tonight's dinner.  Spaghetti with Zucchini (Courgette for those of you in the UK). This dish epitomises everything that I like about Italian cooking - using minimal ingredients to create delicious food. I love Italian food. My step-mother and step-sisters are Italian and I have learned so much in their kitchens. My aunty lives in Italy, and I have learned lots from her also.

Here is the photo:
It's a pity you can't smell it through the computer monitor or, even better, taste it! This was one yummy dinner, even my little (pasta-hating) girl ate hers all up. By the way, this is the big serving bowl, there are about six serves in there, it isn't just a single serve, LOL!

Would you like the recipe? Here it is:

Spaghetti con Zucchine
Ingredients:
Spaghetti
Zucchini, finely sliced (I used one, but sometimes I use two)
Olive Oil - use good quality, you can taste it in this dish, it needs to be nice
Ground black pepper

Grated Parmigiana Reggiano (or other parmesan, pecorino, or romano cheese) to serve.

Method:
Cook spaghetti until al dente. I add salt to my cooking water after the water has started boiling, not before.
While cooking spaghetti, cook zucchini in a single layer in pan with olive oil and pepper until both sides are browned. You will need to do a few batches to get through all of your zucchini slices. If you put them in all together, they will steam and collapse into a soggy mess.
When spaghetti is cooked, place it into serving bowl with a little of the cooking water (just a teensy bit). Add all of the zucchini into the bowl and mix well so that the spaghetti is coated and the zucchini mixed through. Grate on parmesan and serve.

I will admit, I added a little garlic to this recipe tonight, because I love garlic. I have made it without before, and it is just as delicious.

I'll definitely have more food photos this year. I love my food.

:-)
Michelle